
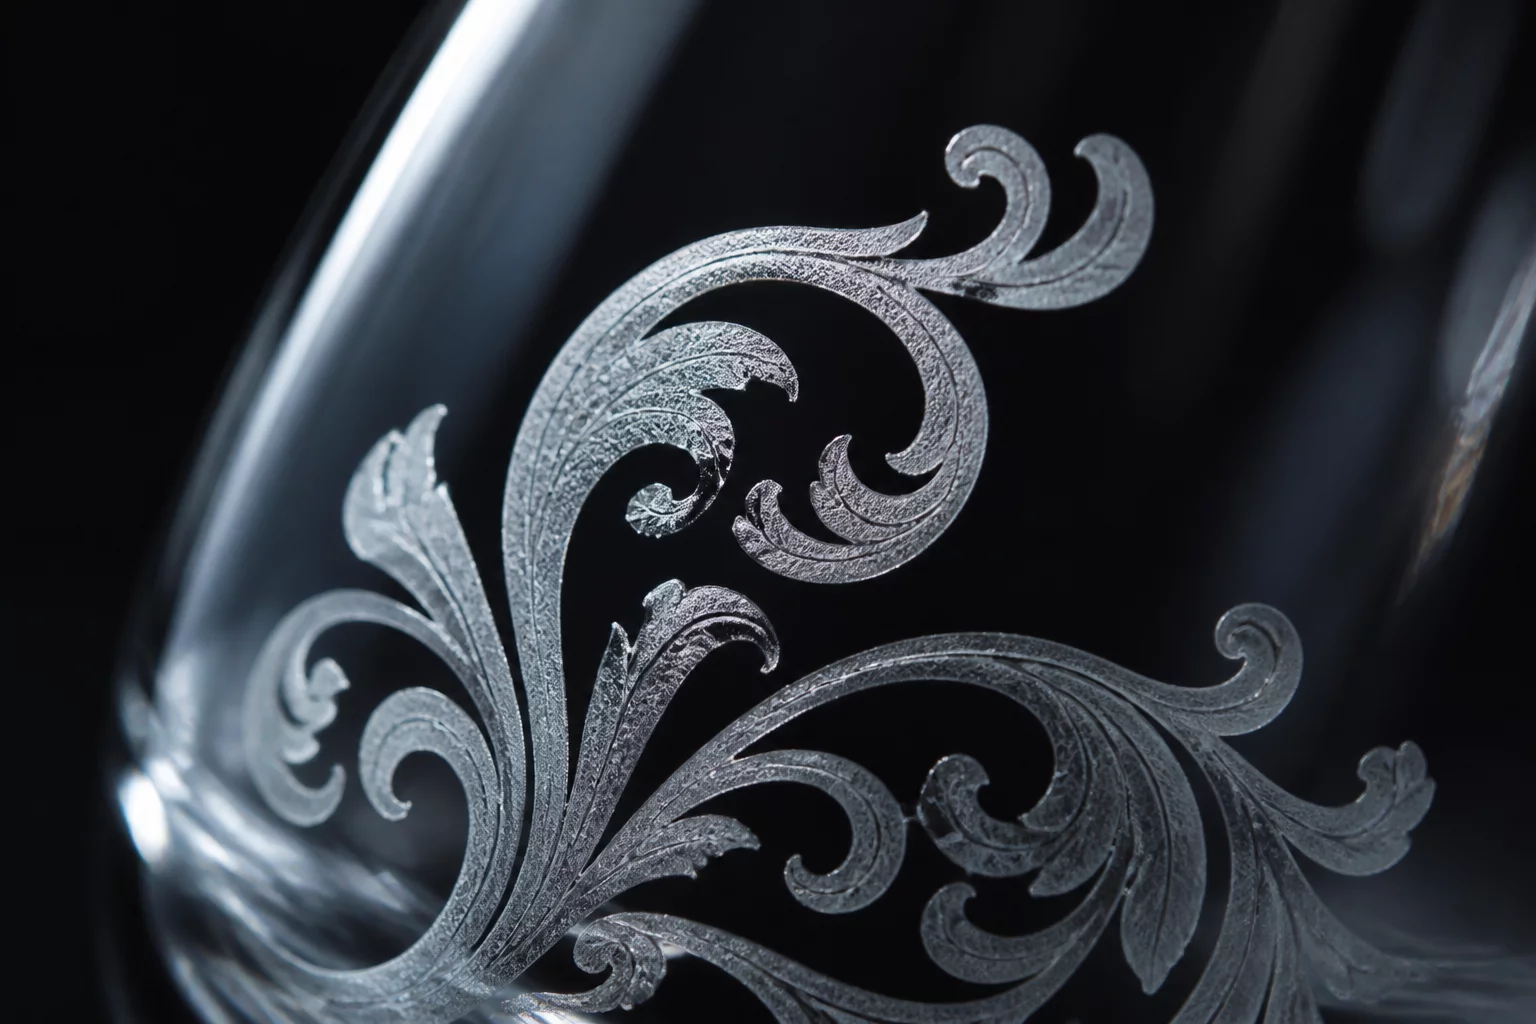
Thermal Shock & Surface Physics
Glass does not vaporize or burn when hit by a standard CO2 or UV laser beam. The optical energy instead flash-heats microscopic surface layers, creating rapid local thermal expansion that produces controlled micro-fracturing across the targeted coordinates.
Excessive energy dumps or overlapping pulses cause uncontrolled fracturing, ejecting glass shards and leaving a rough, sandpaper-like tactile surface. Maintaining strict control over pulse overlap ensures the frosted appearance remains uniform without compromising structural wall integrity.
Power, Speed & Interval Density
The golden rule for glass processing is high speed paired with moderate to low peak power. Setting raster intervals too fine leads to severe heat buildup and fractured surface pitting.
- Raster density: Maintain 254 to 300 DPI line intervals to leave microscopic unheated gaps between passes.
- Dithering algorithms: Apply Jarvis or Atkinson dithering rather than threshold fills for photo transfers.
- Vector scoring caution: Avoid continuous outline cuts; use segmented dashed passes for perimeter framing.
Applying a thin layer of damp paper towel or specialized laser transfer paper across the engraving target absorbs stray heat and captures ejecta flakes, yielding smooth, luminous, milk-white designs.
Toolpath Sequencing & Masking
Rotary operations demand precise pulse coordination to counteract curved surface focal shifts. Calibrate the rotary steps-per-rotation thoroughly before initiating full passes. Wipe the finished workpiece with warm soapy water and a nylon brush to safely remove loose glass dust without scratching untreated surrounding zones.